Paper Toys: Architecture to print and build
What it is: At Anastasis Academy we have several kids who are absolutely crazy for architecture. Not only can they emphatically tell you that they want to be an architect when they grow up, they collect architecture Lego models, will tell you how they wish they could go back in history to meet Frank Lloyd Wright and will build and draw models any chance they get. These are elementary students! Today when I came across these Paper Toy models of famous architecture, I knew I would have to share with our students and, while I was at it, would share with all of you who may have your own budding architects!
On Paper Toys you can find and print paper models for:
- Great Wall of China
- U.S Capitol Building
- Frank Lloyd Wright House
- Neuschwanstein Castle
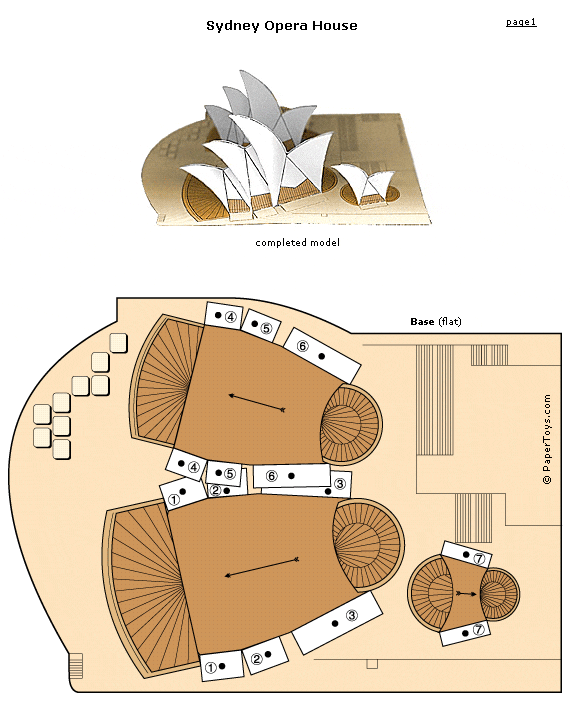
- Sydney Opera House
- White House
- World Trade Center Complex
- Shakespeare’s Globe Theatre
- Angkor Wat
- Bill Gates’ House
- Big Ben
- Taj Mahal
How to integrate Paper Toys Architecture Models into the classroom: In addition to instantly reaching hero status among your architecture crowd, the Paper Toys Architecture Models is a great addition to the math, history and art classroom. Students can put the models together digging into the different architecture styles, mathematical models represented by the architecture, and the history of the architecture. Students can print and build the models (a great exercise in patience, perseverance and attention to detail). Next students can attach their finished model to a base where they can surround it with math, art or history details they learned about the building to the base. If they really want to get creative, they can twirl and swirl the words around using different color markers to create an informative landscape.
Students can dig in further and map the various models on a Google map. If several students are creating models, they can compare and contrast architecture from different time periods, different geographic regions and identify the origins of the type of architecture.
Tips: Be sure to check out the other Paper Toy models. Your students can build cars, monuments and much more. New models are added every month!
Please leave a comment and share how you are using Paper Toy Models in your classroom!


